


Last Updated on March 14, 2025 by Successful Black Parenting Staff
Crafting the ultimate travel photo book is about preserving the irreplaceable moments of your family adventures in a way that is both meaningful and enduring. It’s about reliving the thrill of your travels through every turn of the page.
Each image, carefully selected and thoughtfully placed, weaves together the narrative of your journey. But how do you ensure that your photo book captures the essence of your adventures and stands the test of time?
Key Takeaways
- Curate and arrange images to weave the narrative of your travels.
- Personalize your photo book with unique touches.
- Employ thoughtful selection to create an enduring memento.
Set the Scene: Choosing Your Theme and Layout
Crafting the ultimate travel-themed photo book begins with setting the right scene. Your theme and layout are the foundation that will frame your travel stories, so choosing them wisely is essential to bring your adventures to life.
Select a Cohesive Theme
When you’re deciding on a theme, think of it as the underlying story that connects all your travel experiences. It’s not just about aesthetics; your theme should reflect the essence of your journey. Here are a couple of routes you could take:
- Cultural Exploration: Emphasize the cultural elements of your travel, incorporating local art designs or traditional patterns.
- Adventure Journey: If your trip was adrenaline-focused, go for a bolder, dynamic theme that captures the thrill.
Themes like “Urban Getaway” or “Tropical Paradise” can instantly set the mood. Feel free to mix and match themes or even create one from scratch that perfectly captures the vibe of your travels.
Effective Layout Strategies
The layout is all about storytelling by positioning your photos and texts in a way that flows naturally. Here’s how to nail it:
- Chronological Order: Lay out your pictures to follow the sequence of your trip, which helps you recount your story from beginning to end.
- Thematic Sections: Group photos by theme, such as food, landscapes, or candid shots, creating collages that illustrate each aspect of your trip.
Always leave some white space—crowded pages can overwhelm— and balance your layouts by pairing busier collages with pages that feature a single, striking image. Your travel photo book is a visual narrative, so let the design enhance your storytelling, not detract from it.
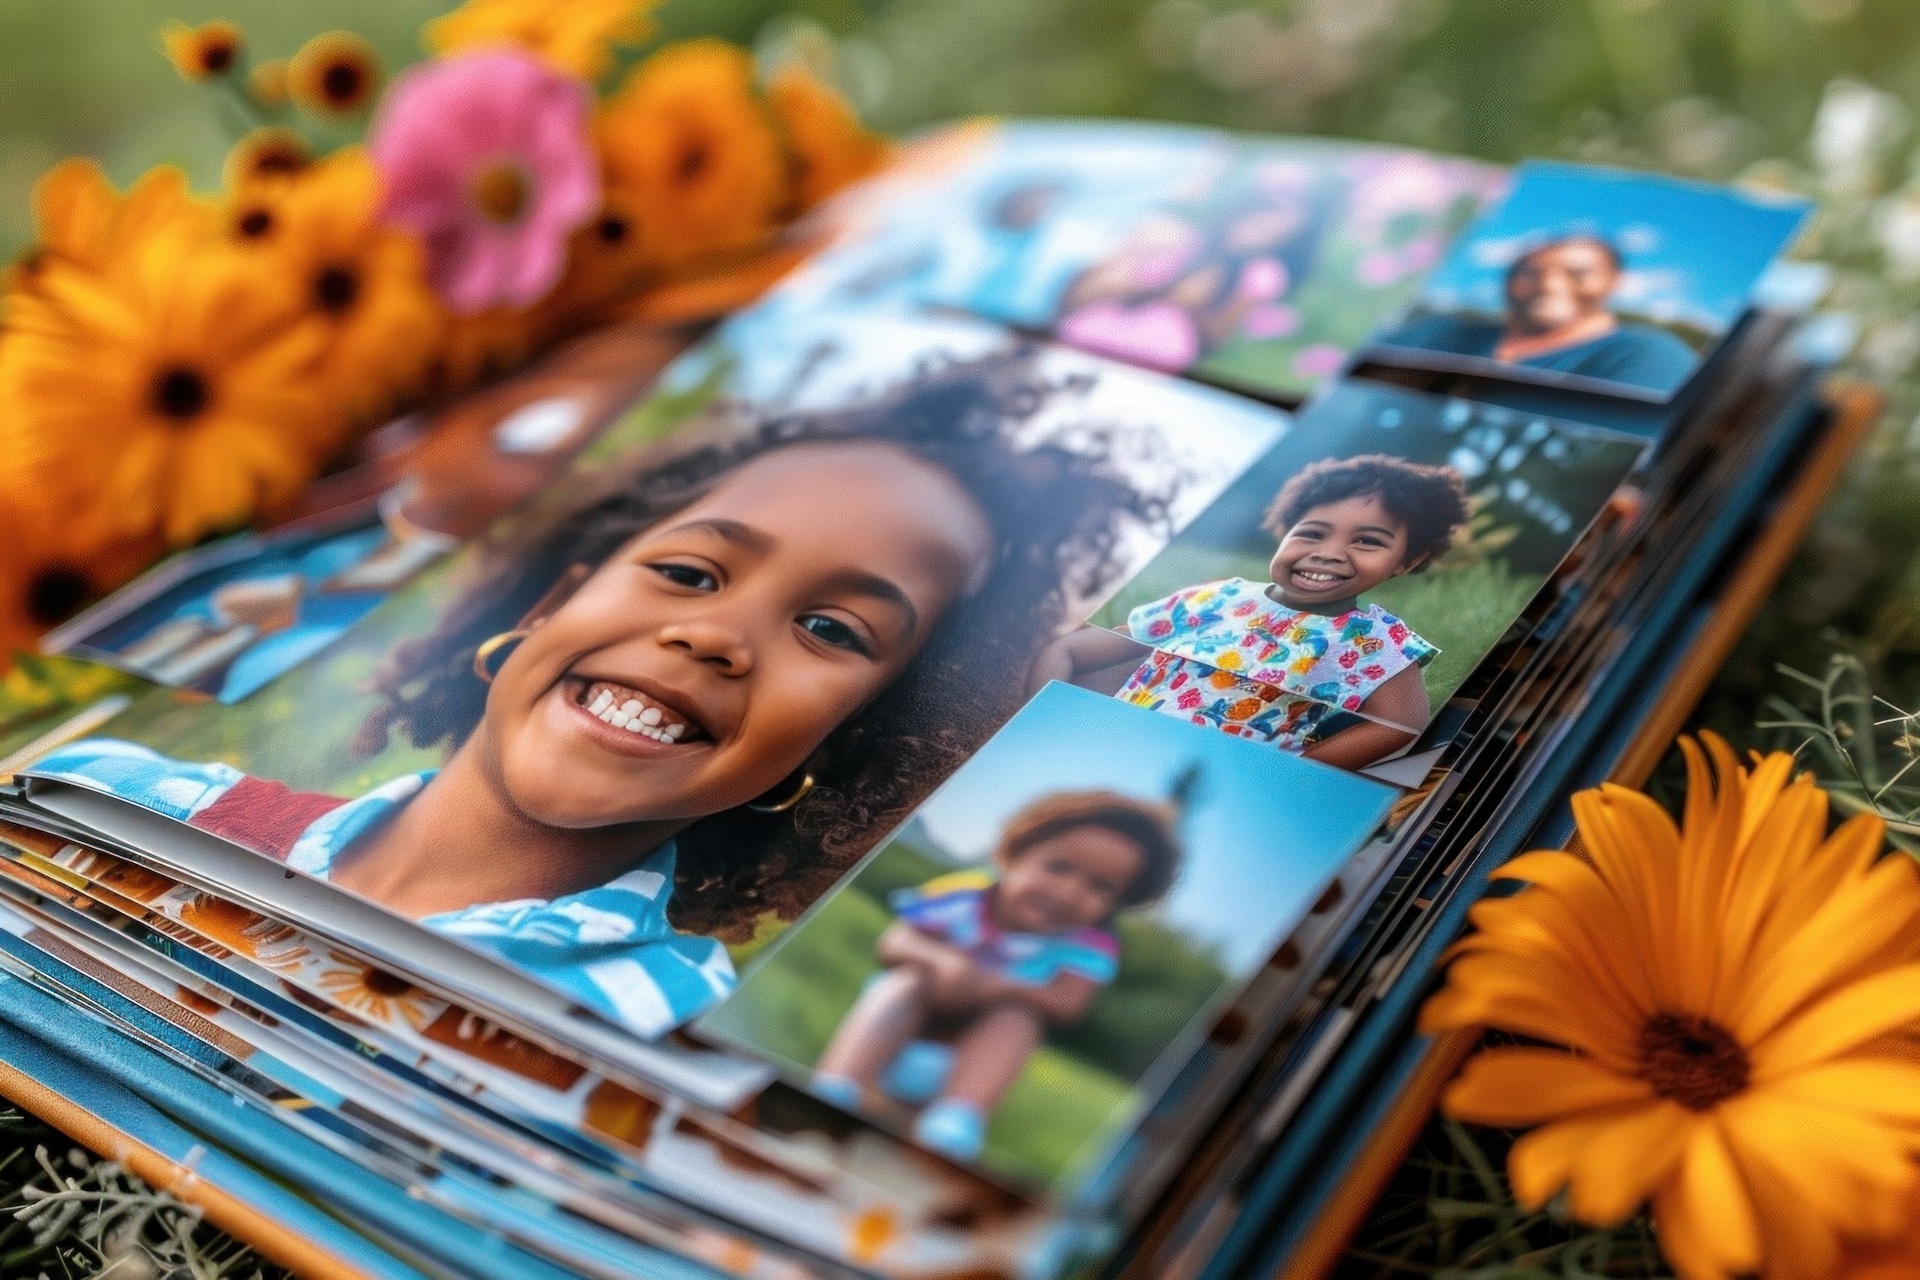
The Art of Storytelling Through Photos
Your travel photo book is more than just a collection of random shots; it’s an invitation to relive your journey. A well-crafted photo book takes your reader on an adventure, with landscapes that speak and moments that tell a story. Let’s dive into how to weave your photos into a captivating narrative.
How To Craft Your Family Adventures Narrative
Start by selecting your best photos that reflect the spirit of your adventure. Think of your photo book as a visual story with a beginning, middle, and end. Here’s a quick guide:
- Beginning: Set the scene with shots of landscapes and locations that introduce your destination.
- Middle: Showcase the heart of your trip – the main events, attractions, or experiences.
- End: Conclude with powerful images that encapsulate the essence of your journey or change in perspective.
Remember, each image should add to the narrative, revealing something new or moving the story forward.
How To Incorporate Captions and Anecdotes
Captions and personal anecdotes give depth to the photos, providing context that the images alone cannot capture. Follow this simple format:
- Captions: Keep them brief yet descriptive. Reveal the “where” and “what” succinctly beneath each image.
- Anecdotes: These are your personal stories from the trip. Tuck them alongside the photos, either as standalone snippets or integrated into longer text blocks to enrich the visuals.
Using captions and anecdotes helps to paint a fuller picture, transforming your photo book from a mere gallery into a personal travel diary.

How To Fine-Tune Your Photobook
Putting together a travel photo book is more than just compiling photos; it’s about crafting a story that reflects your journey. Fine-tuning your photobook involves meticulous photo selection, a keen eye for design, and understanding the best printing options to make your memories leap off the page.
Photo Selection and Editing
- Selecting Photos: Choose a mix of landscapes, close-ups, and candid shots to convey the full experience of your trip. Aim for variety and emotional impact rather than quantity.
- Editing: Use editing tools to adjust lighting and color, ensuring your images are vibrant and clear. Apply filters sparingly to maintain the authenticity of your photos.
Design Considerations
- Design Tools: Take advantage of photo book templates for a cohesive look, or create your own layout for a personalized touch.
- Format: Decide on the size and orientation that best suits your photos—landscape formats often work well for travel photo books.
- Consistency: Keep fonts and color themes consistent throughout the book to create a harmonious visual flow.
How To Choose the Right Printing Options
- High-Quality Printing: Opt for a printer known for high-quality outputs, as that can make or break your photobook’s look. To further enhance your printing experience, consider recycling unused ink and toner through Sell Toner, a service that helps you turn surplus cartridges into cash while reducing waste.
- Paper Choice: Consider the paper type—glossy papers, for instance, can make colors pop, while matte finishes can lend a more subtle, elegant feel.
- Size Options: Be mindful of the print size; larger books can make a statement, but smaller ones might be more convenient for sharing and handling.
Making It Personal: Adding Unique Touches
Your travel photo book should be more than just pictures—it’s a narrative of your journey. Bringing in the essence of the places you’ve visited by incorporating local elements and trinkets ensures your book is as unique as your travels.
Integrate Local Flavors and Characters
When you reflect on your travels, it’s often the local flavors and characters that stand out the most. Remember that spice market in Morocco or the charismatic street performer in Rome? Those are the memories to capture.
- Locals: Pictures of local people add depth, capturing the spirit of the destination. Always ask for permission first before snapping a photo.
- Local Cuisines: Include your foodie photos, from the street food vendor in Bangkok to the elaborate dish you had in Paris.
Align your photos of locals and cuisine with interesting anecdotes or recipes—this could be a side note or a caption.
Memorable Miscellany: Souvenirs and Mementos
Your pockets are often as full as your heart when returning from an adventure. From Polaroids to postcards, each item has a story.
- Polaroids: Instant snaps of a moment, perfect for that retro vibe.
- Postcards: Jazz up the visual appeal with handwritten notes from various destinations.
- Souvenirs: Whether it’s a seashell or ticket stubs, these items add a tactile dimension to your memories.
Arrange these mementos alongside your photos, maybe in a pocket on the page, so you can pull them out and reminisce. Remember, you’re crafting not just a photo book, but a coffee table conversation starter.
Craft a travel photo book that’s uniquely yours. By choosing the right photos and themes, your adventures leap off the pages, inviting you to relive each moment. Now, go on—tell your story and safeguard those priceless memories for a lifetime.


[…] a custom photo book doesn’t have to cost a fortune. Use an online platform like Mixbook, which offers […]